The Contacts section in Userorbit allows you to view your user contacts and manage contact properties. Let's walk through how to use the contact management features!
Getting Started
Head over to the Userorbit dashboard and navigate to the Contacts section. You'll see two main tabs: Contacts and Properties.
View Your Contacts
Contacts Tab
In the Contacts tab, you can see all your users in a simple table format:
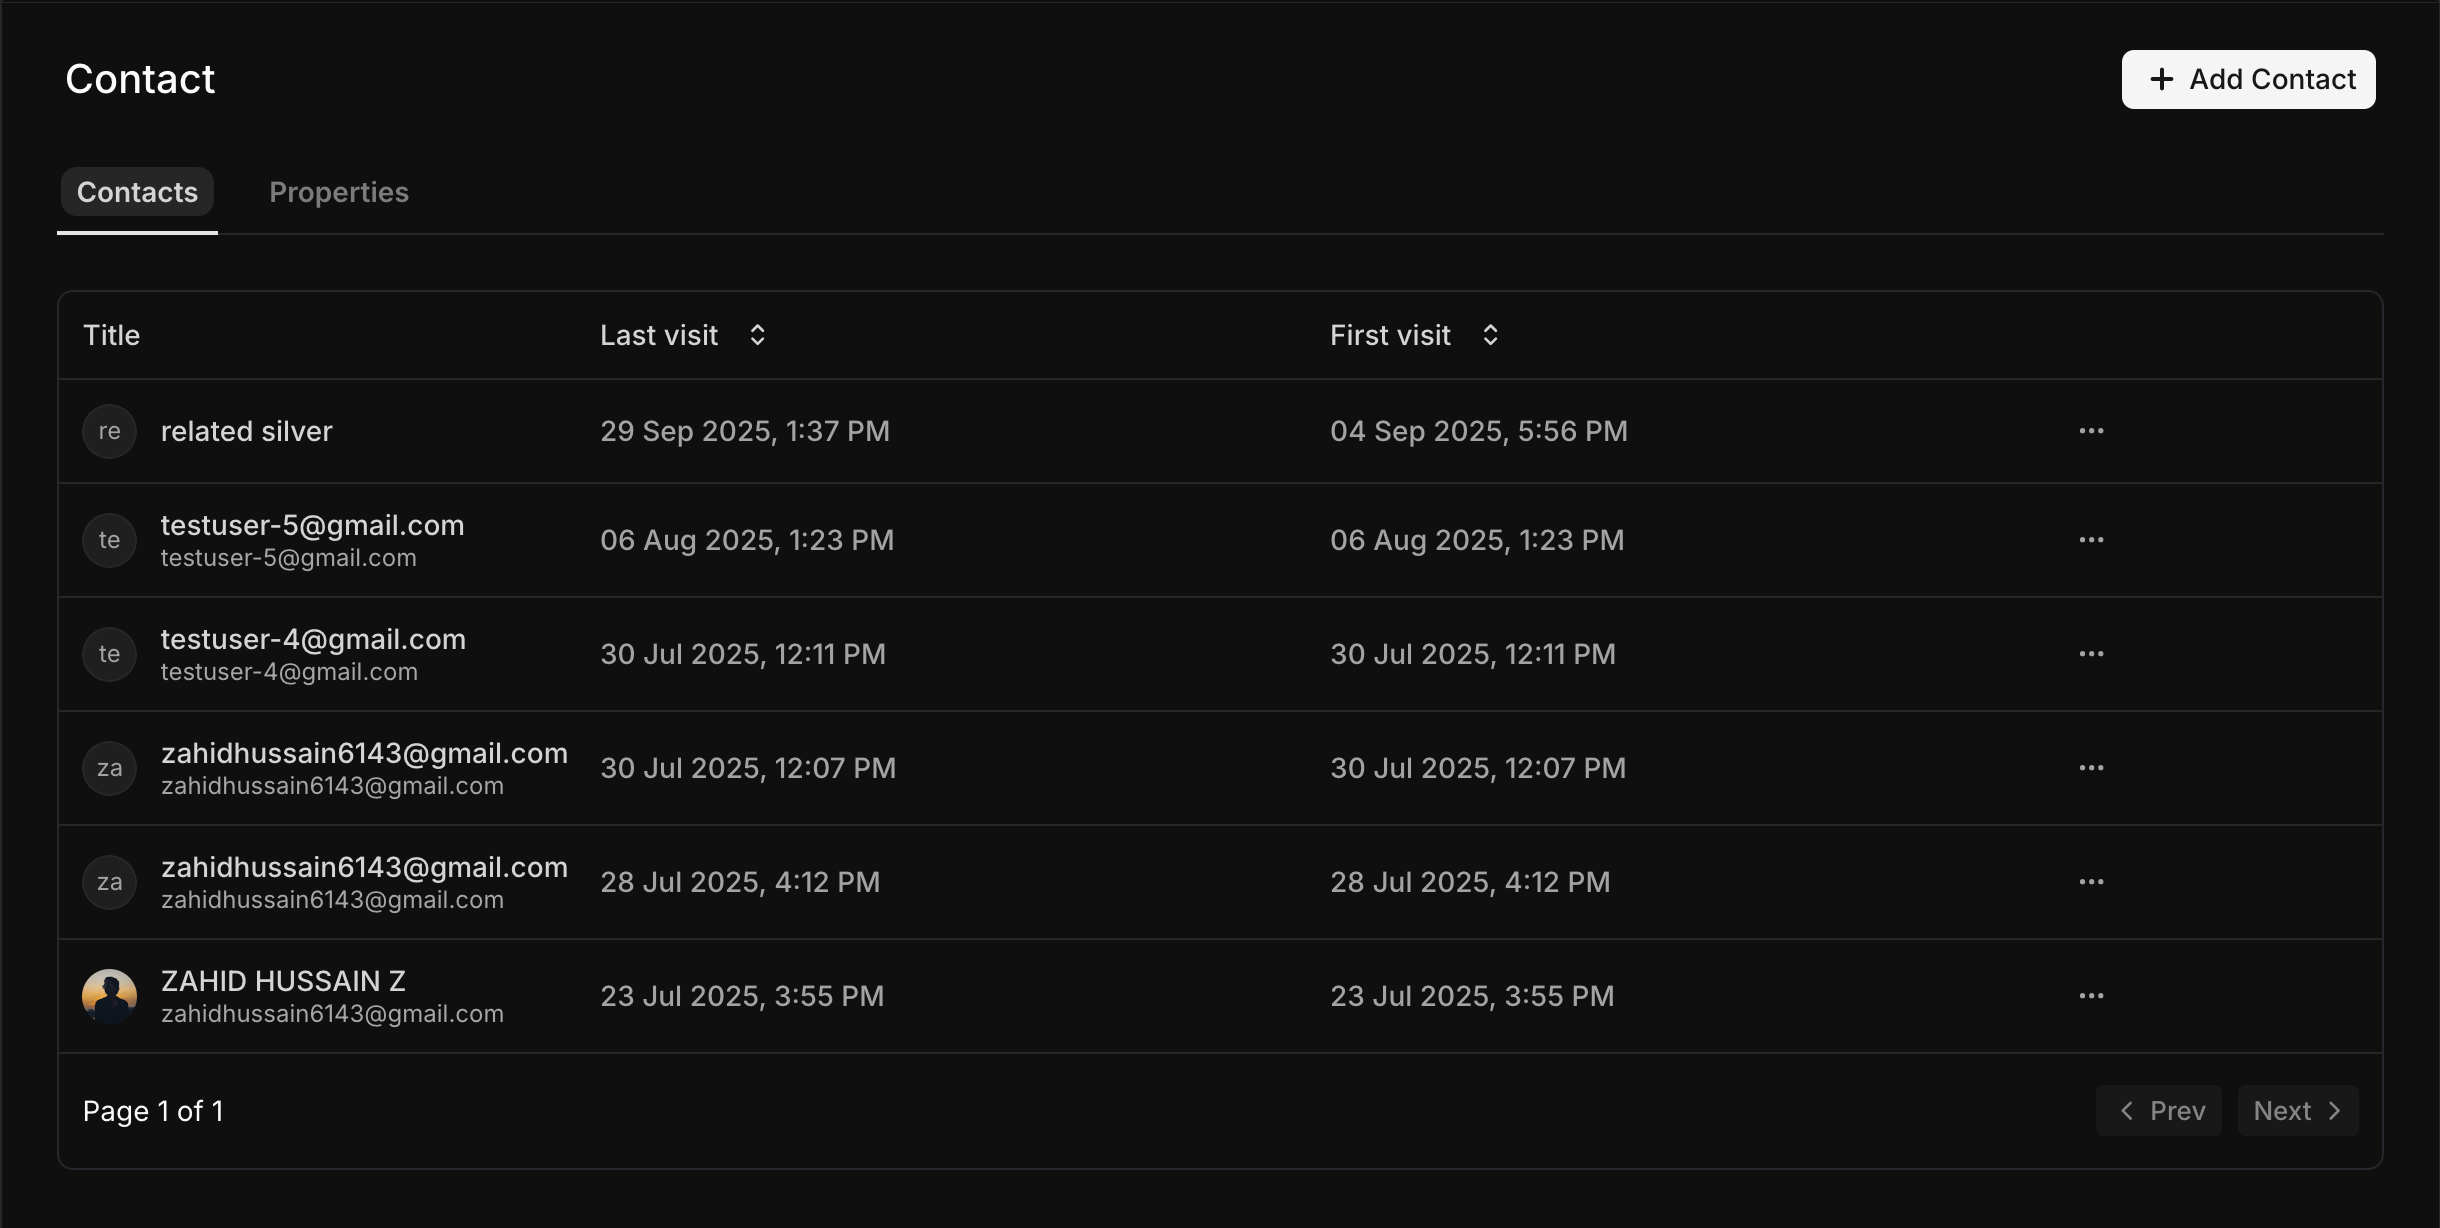
- Title: The contact's name or identifier
- Last Visit: When the user was last active
- First Visit: When the user first visited
- Add Contact: Use the "Add Contact" button to manually add new contacts
Manage Contact Properties
Properties Tab
The Properties tab shows all available contact properties in a structured table:
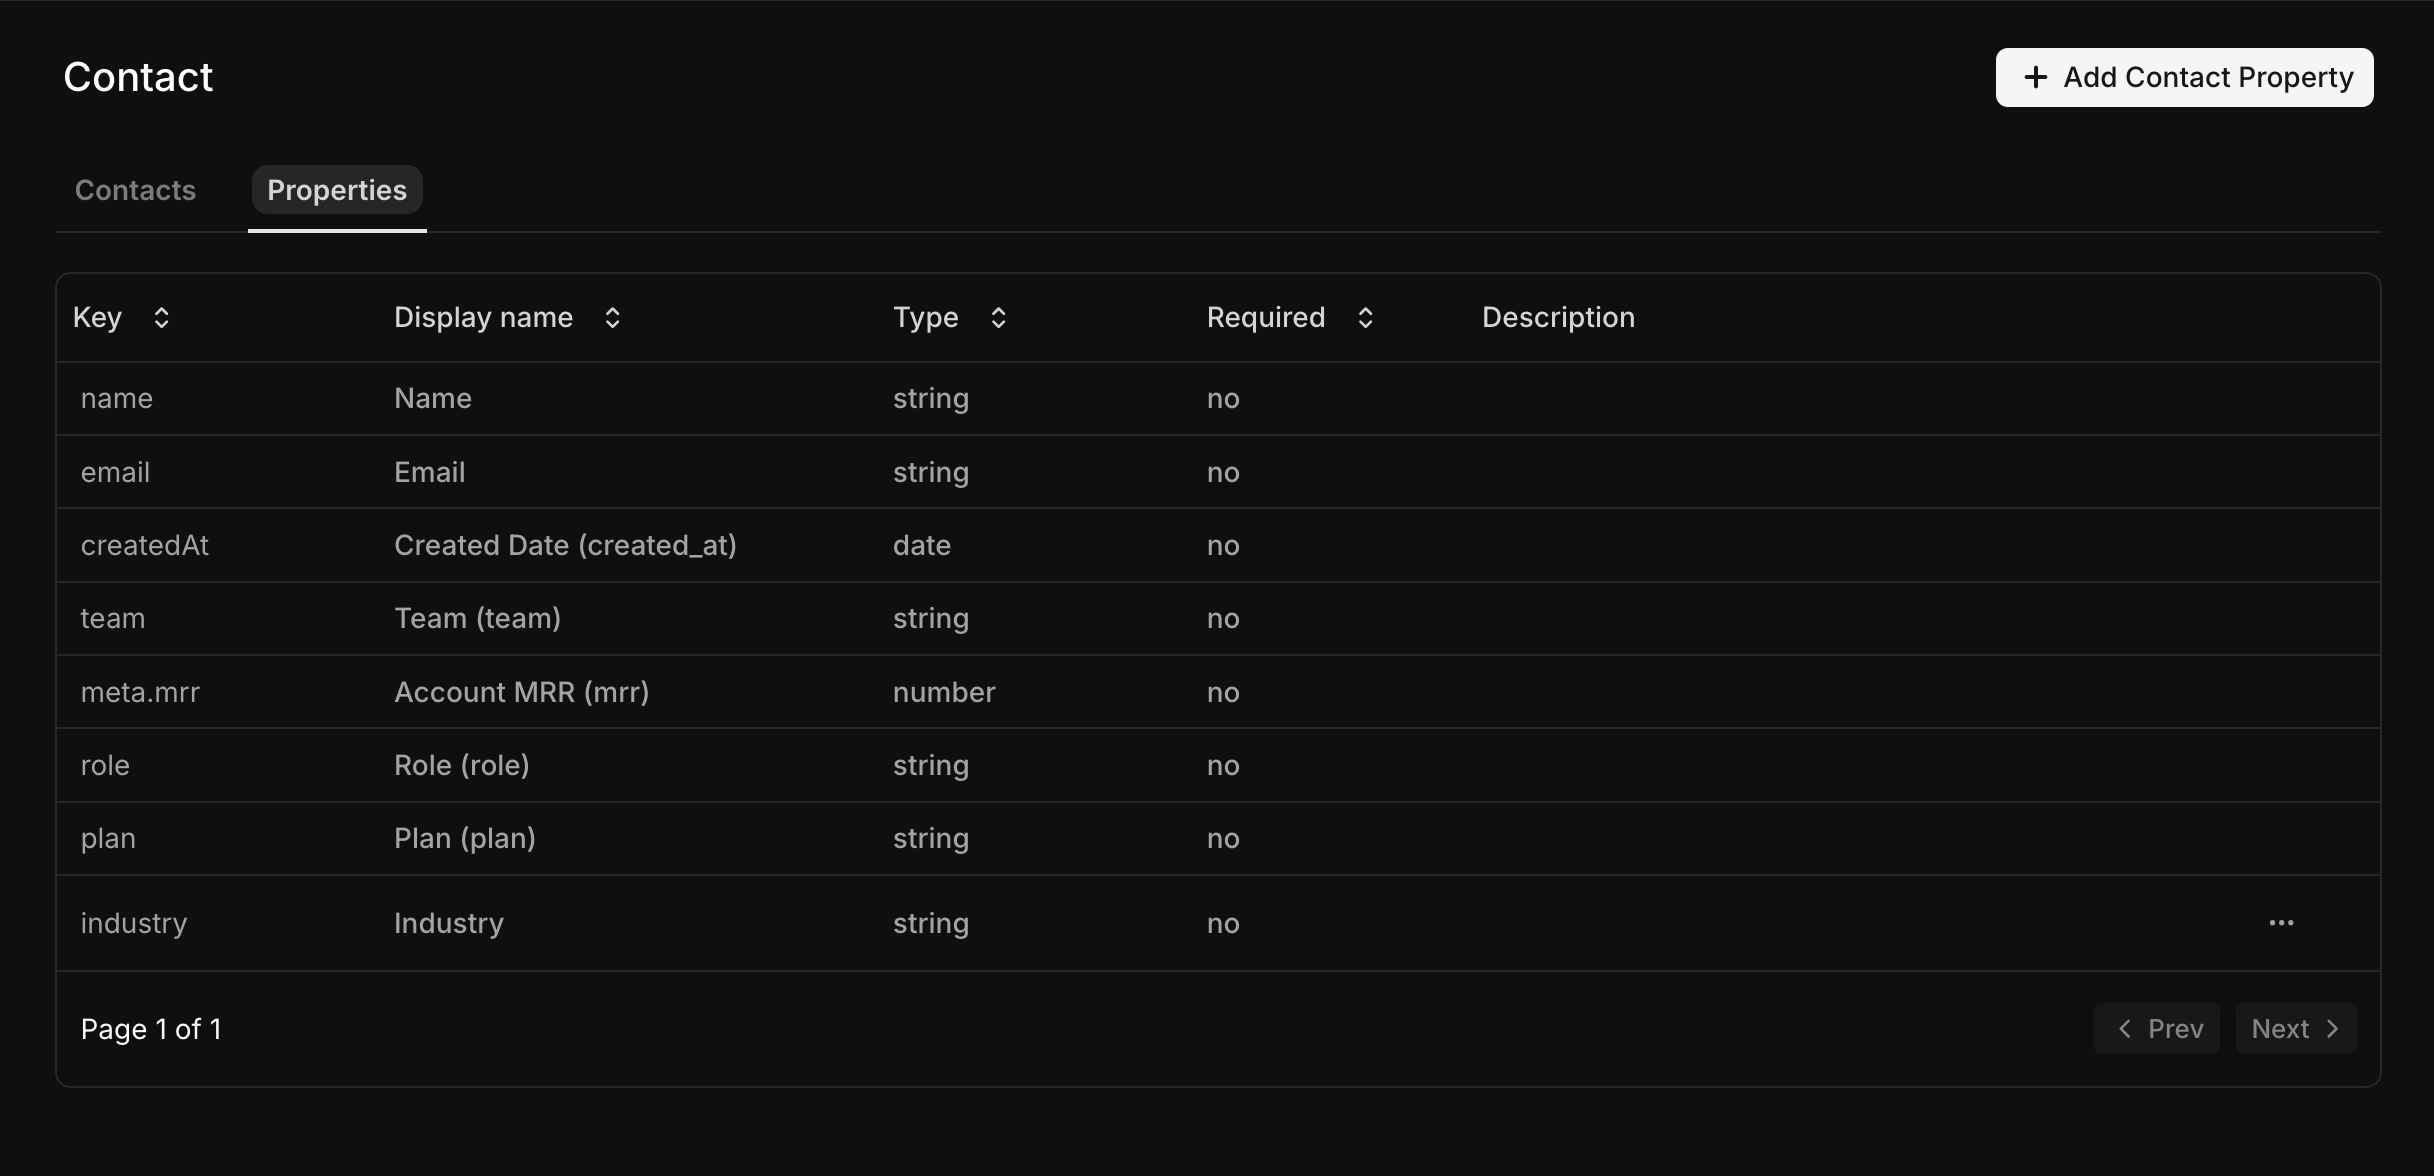
- Key: The internal property identifier (e.g., name, email, createdAt)
- Display Name: The human-readable name (e.g., Name, Email, Created Date)
- Type: The data type (string, date, number)
- Required: Whether the property is required (yes/no)
- Description: Additional information about the property
Add Custom Properties
Click the "Add Contact Property" button to create new custom properties for tracking additional user information like plan type, role, industry, or other relevant data points.
Wrapping Up
The Contacts section in Userorbit provides a simple way to view your users and manage the properties used for targeting and personalization. Use the Properties tab to customize what data you collect about your users.
Need more help? contact our support team or click on the chat bubble below for personalized assistance.
Happy organizing!