Create guided, interactive checklists to drive onboarding, feature adoption, and ongoing success inside your product.
Before you start
- Define the goal for the checklist (e.g., complete onboarding, adopt a feature)
- List the key steps users must take to achieve the goal
- Identify any success criteria or tracking events
Create a new checklist
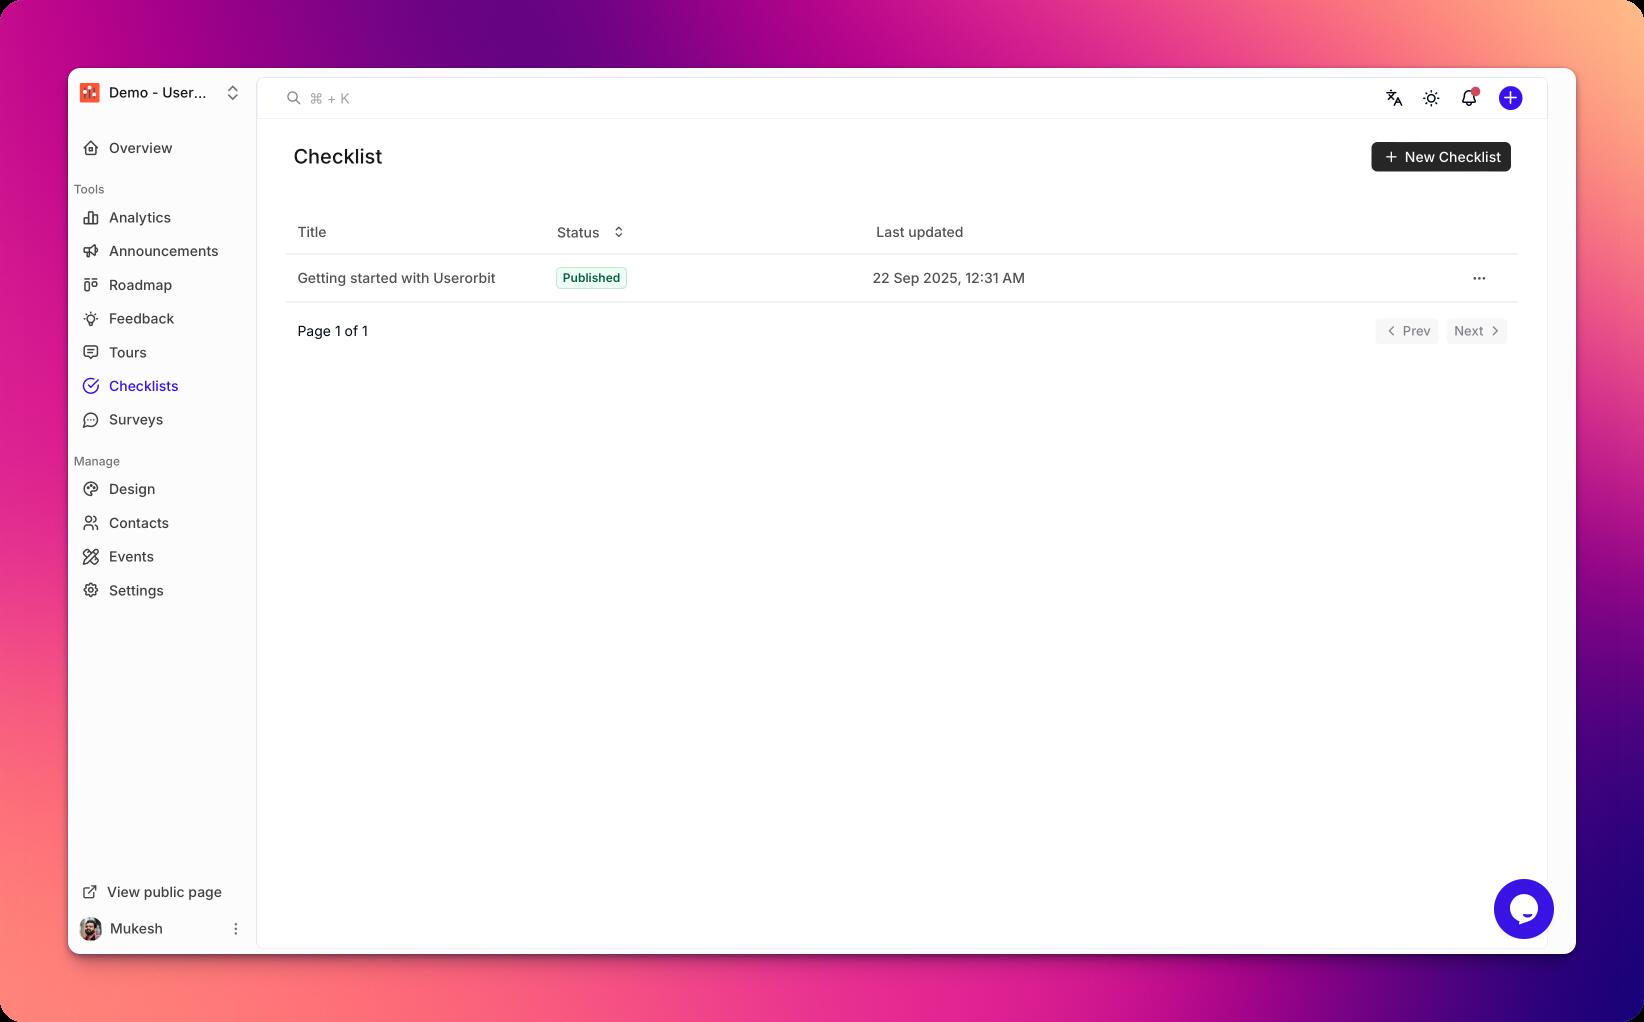
- Go to Checklists in your Userorbit admin dashboard.
- Click New checklist.
- Name your checklist and add a short description.
- Choose the default audience or leave it open for now.
Add and organize steps
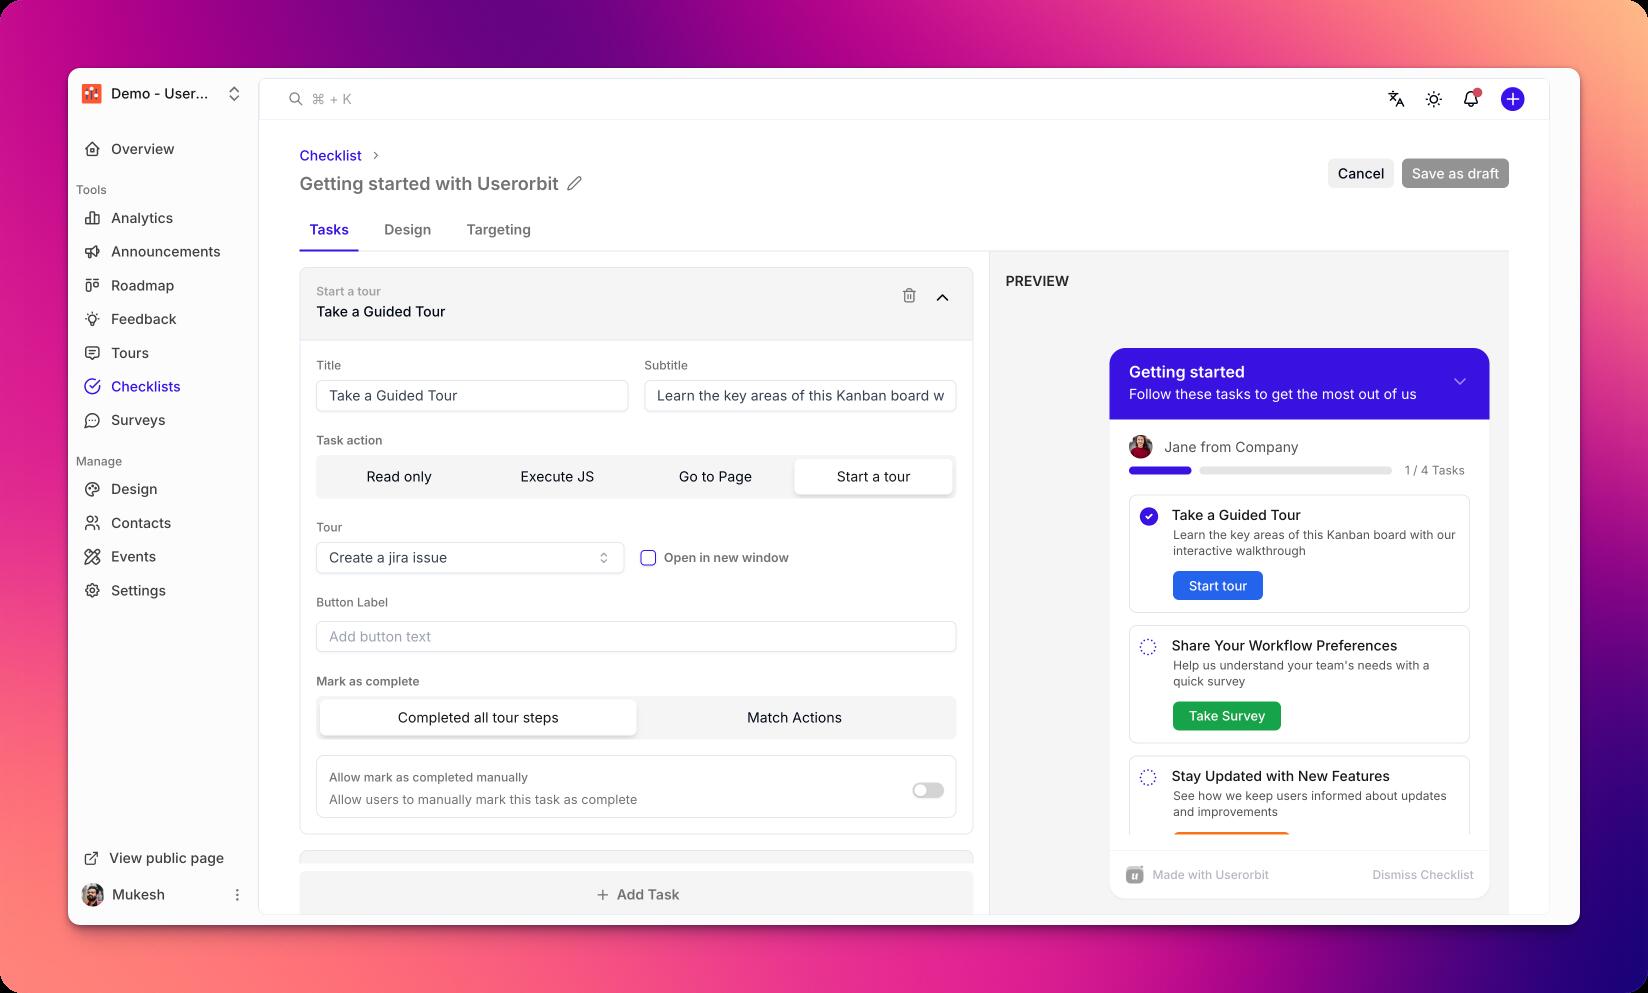
- Click Add step to create a new item.
- Provide a clear title and optional description.
- Choose a completion condition:
- Manual mark as complete
- Event-based (e.g., user performed action)
- Property-based (e.g., plan == Pro)
- Reorder steps by dragging to set the ideal sequence.
Configure behaviors
- Auto-open behavior (on first login, on specific pages)
- Allow users to collapse/dismiss
- Restrict to desktop or mobile
- Completion celebration and follow-up actions
Preview and publish
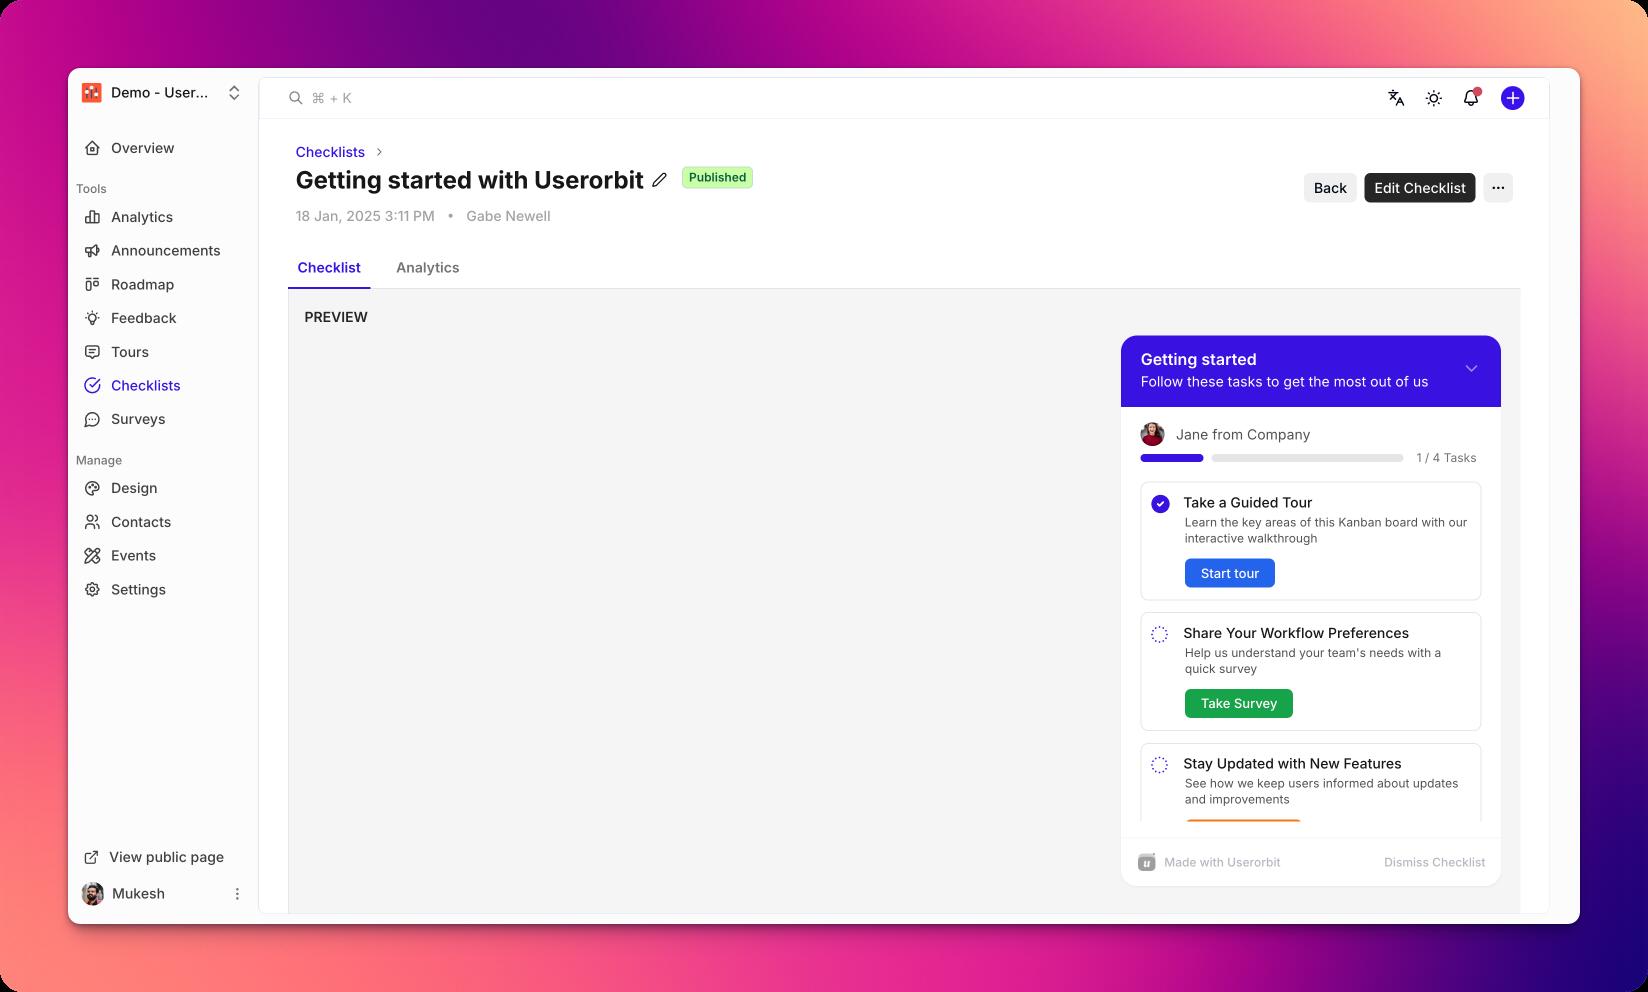
- Click Preview to test the checklist experience.
- Validate step completion logic and ordering.
- Click Publish to make the checklist available.
Best practices
- Keep step titles short and action-oriented
- Aim for 3–7 steps per checklist
- Use clear completion criteria to reduce confusion
- Group advanced steps into a separate checklist
Troubleshooting
- Steps not completing: verify event/property conditions and spelling
- Checklist not visible: check audience targeting and publish status
- Wrong order: drag to reorder and republish