Contact properties help you organize and structure user information for better targeting and personalization. Let's walk through how to manage contact properties effectively!
Understanding Contact Properties
The Properties tab shows all available contact properties:
- Default Properties: Built-in properties like name, email, created date, team, role, plan, industry
- Custom Properties: Additional properties you create for your specific needs
- Property Types: String, number, date, and other data types
- Required Fields: Mark properties as required or optional
Adding Custom Properties
Use the "Add Contact Property" button to create new properties:
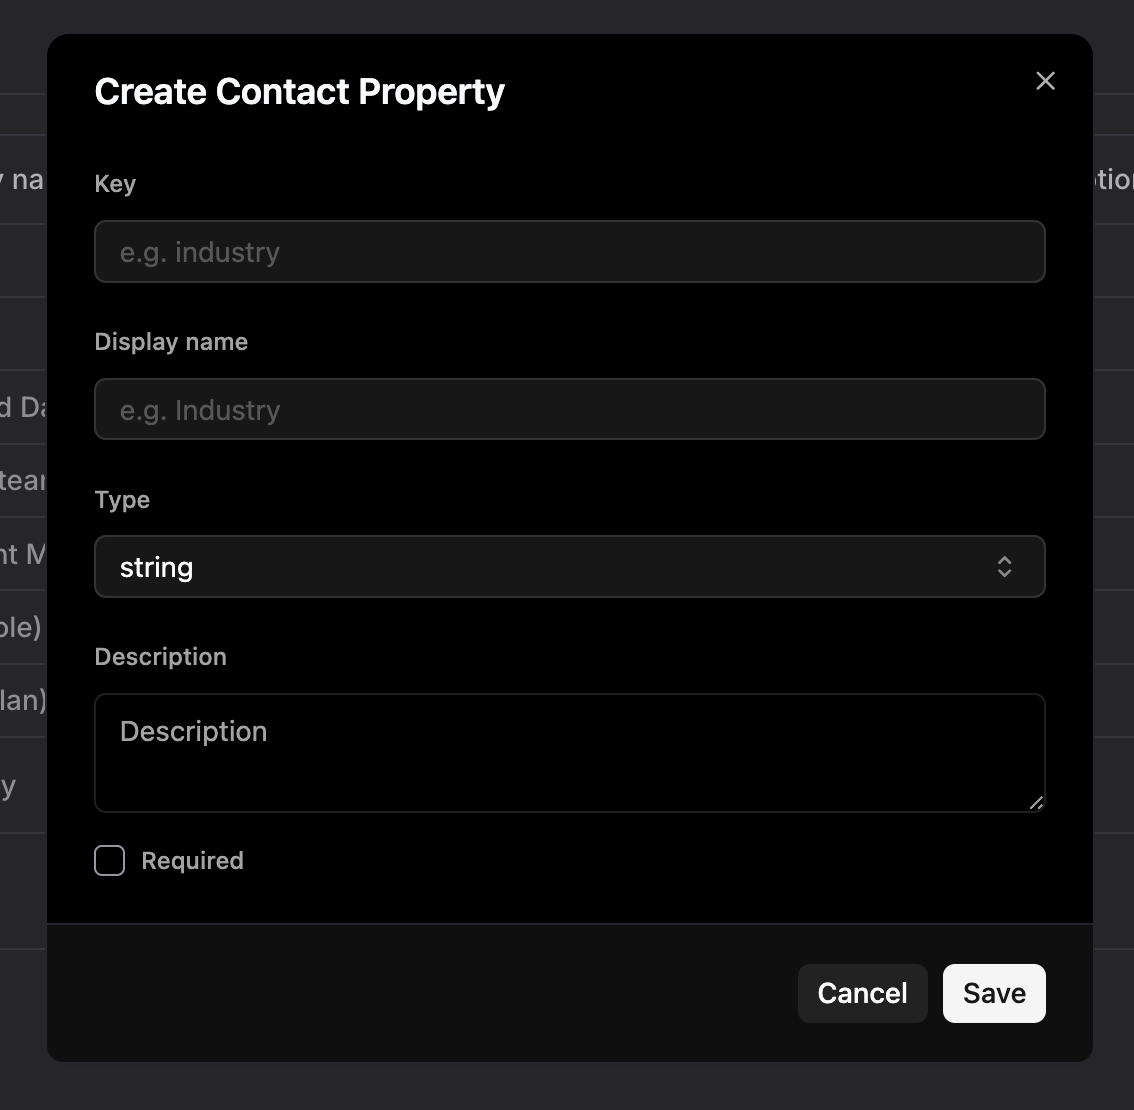
- Choose Property Type: Select string, number, date, or boolean based on your data needs
- Set Display Name: Create a clear, descriptive name users will see
- Define Key: Set the internal identifier for the property
- Configure Settings: Mark as required or optional and add descriptions
Managing Existing Properties
From the Properties table, you can:
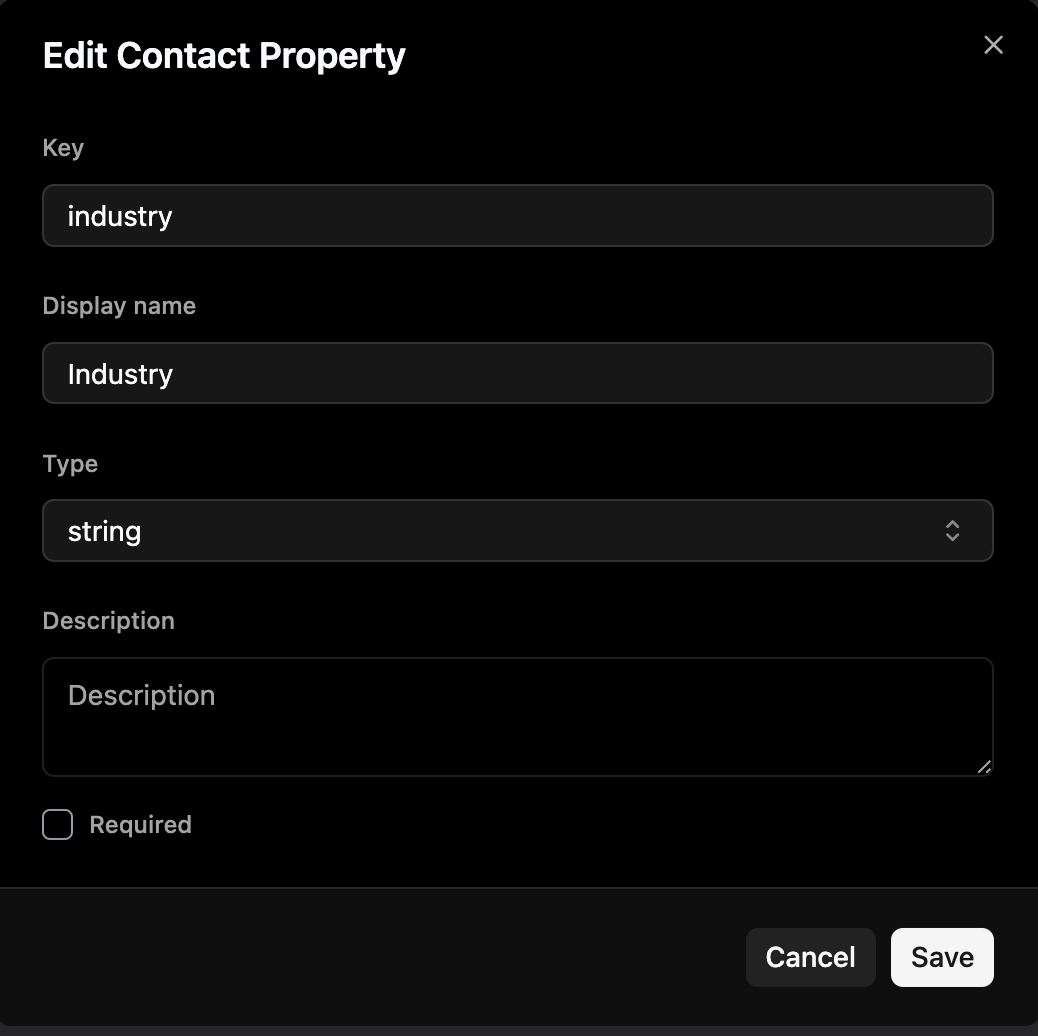
- View Property Details: See key, display name, type, and requirements
- Edit Properties: Modify existing property settings and descriptions
- Organize Data: Use consistent naming and typing for better data quality
Best Practices
- Use consistent naming: Follow a clear naming convention for property keys
- Choose appropriate types: Select the right data type (string, number, date) for each property
- Add descriptions: Include helpful descriptions to clarify property usage
- Keep it relevant: Only create properties that you'll actually use for targeting or analysis
Wrapping Up
Managing Contact Properties effectively helps you organize user data for better targeting and personalization. Remember to keep your properties organized and relevant to your business needs.
Need more help? contact our support team or click on the chat bubble below for personalized assistance.
Happy organizing!