Turn a short prompt into a set of branded social visuals, then adjust each asset and export it for use outside Userorbit.
Userorbit uses your workspace's brand details and logo when they are available, then opens the generated project in the visual editor.
Use the sparkle actions to generate a new background or headline for the selected asset. Changes are saved to the visual as you make them.
Rename the visual from the title field in the header before exporting if you want a clearer ZIP filename.
Plan required Demo Visuals requires Scale or Enterprise, an active trial, or an explicit Interactive Demos override for your workspace.
Create a visual
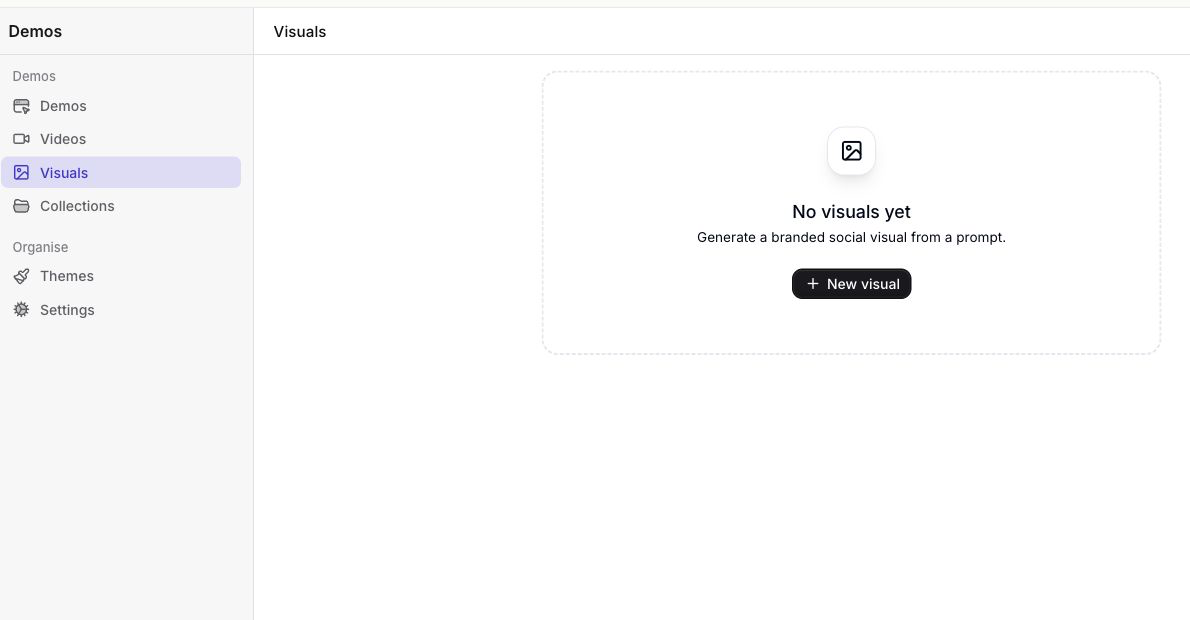
- Go to Demos → Visuals.
- Select New visual.
- Enter what you want the visual to communicate, or choose one of the prompt starters.
- Optionally select Attach image to add a product image as source material.
- Select Generate.
Userorbit uses your workspace's brand details and logo when they are available, then opens the generated project in the visual editor.
Edit an asset
Select an asset in the left panel, then use the inspector on the right to change its:- layout and output dimensions;
- template;
- logo style or uploaded logo;
- background image or color;
- headline and text color; and
- call-to-action text and colors.
Use the sparkle actions to generate a new background or headline for the selected asset. Changes are saved to the visual as you make them.
Add or remove formats
Select the add button at the bottom of the asset panel, then choose a layout to create another format based on the current visual. You can remove an asset when the visual contains more than one.Download or export visuals
- Select the download action on an asset to download that asset as a JPG.
- Select Export in the header to download all assets together in a ZIP file.
Rename the visual from the title field in the header before exporting if you want a clearer ZIP filename.