A workspace is the foundation of your Userorbit account. It holds your projects, team members, and all your data. This guide covers creating a new workspace.
A workspace is the foundation of your Userorbit account. It holds your projects, team members, and all your data. This guide covers creating a new workspace, configuring its basic settings, and inviting your first team member.
Create a new workspace
Log in to Userorbit at app.userorbit.com.
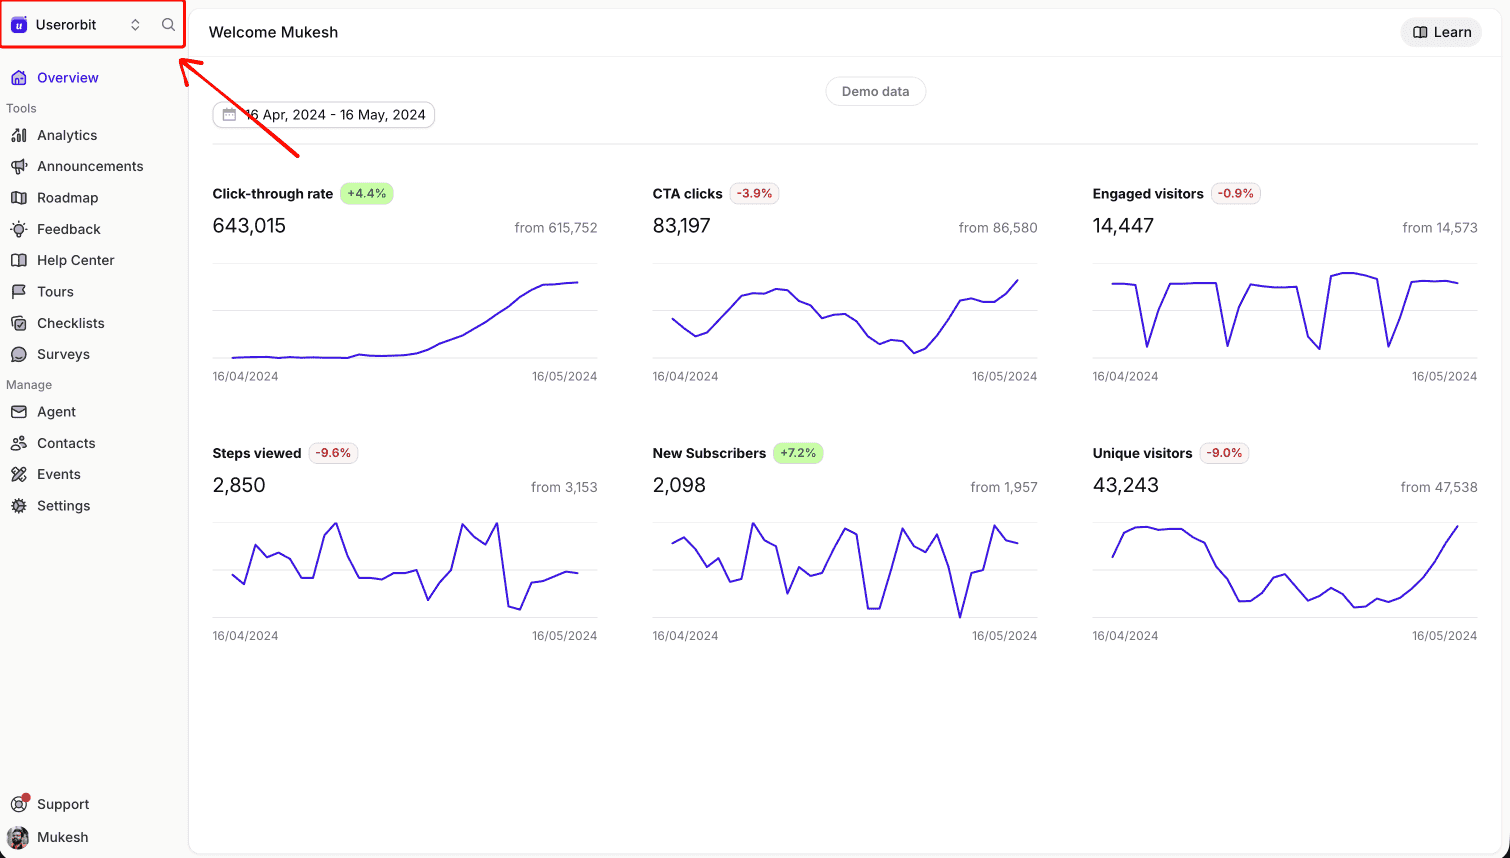
Click your workspace name in the top-left corner of the dashboard.
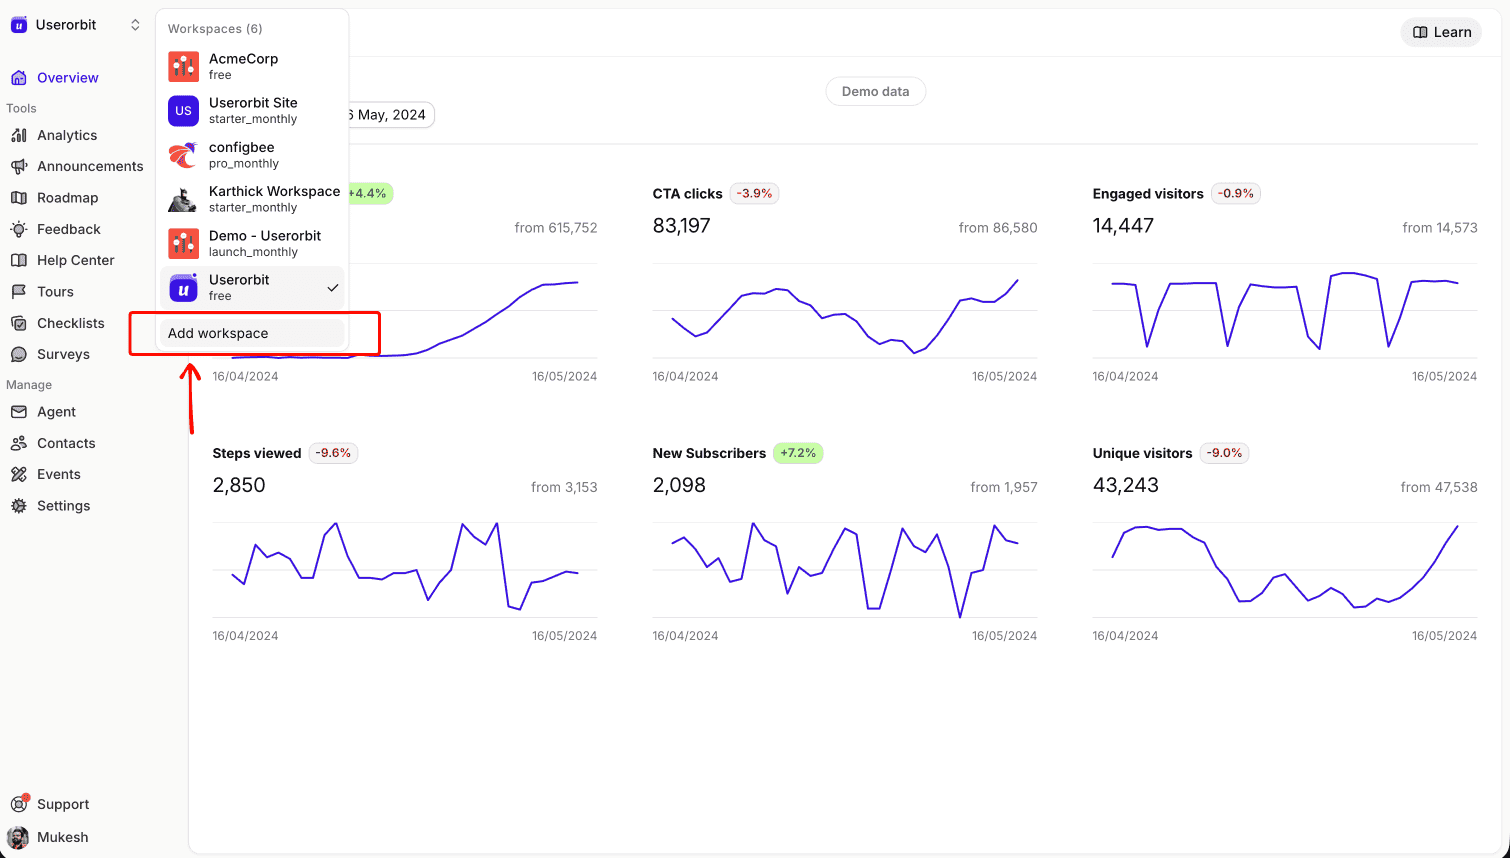
Select Create Workspace from the dropdown menu.
Enter a workspace name. This is typically your company or product name. You can change it later.
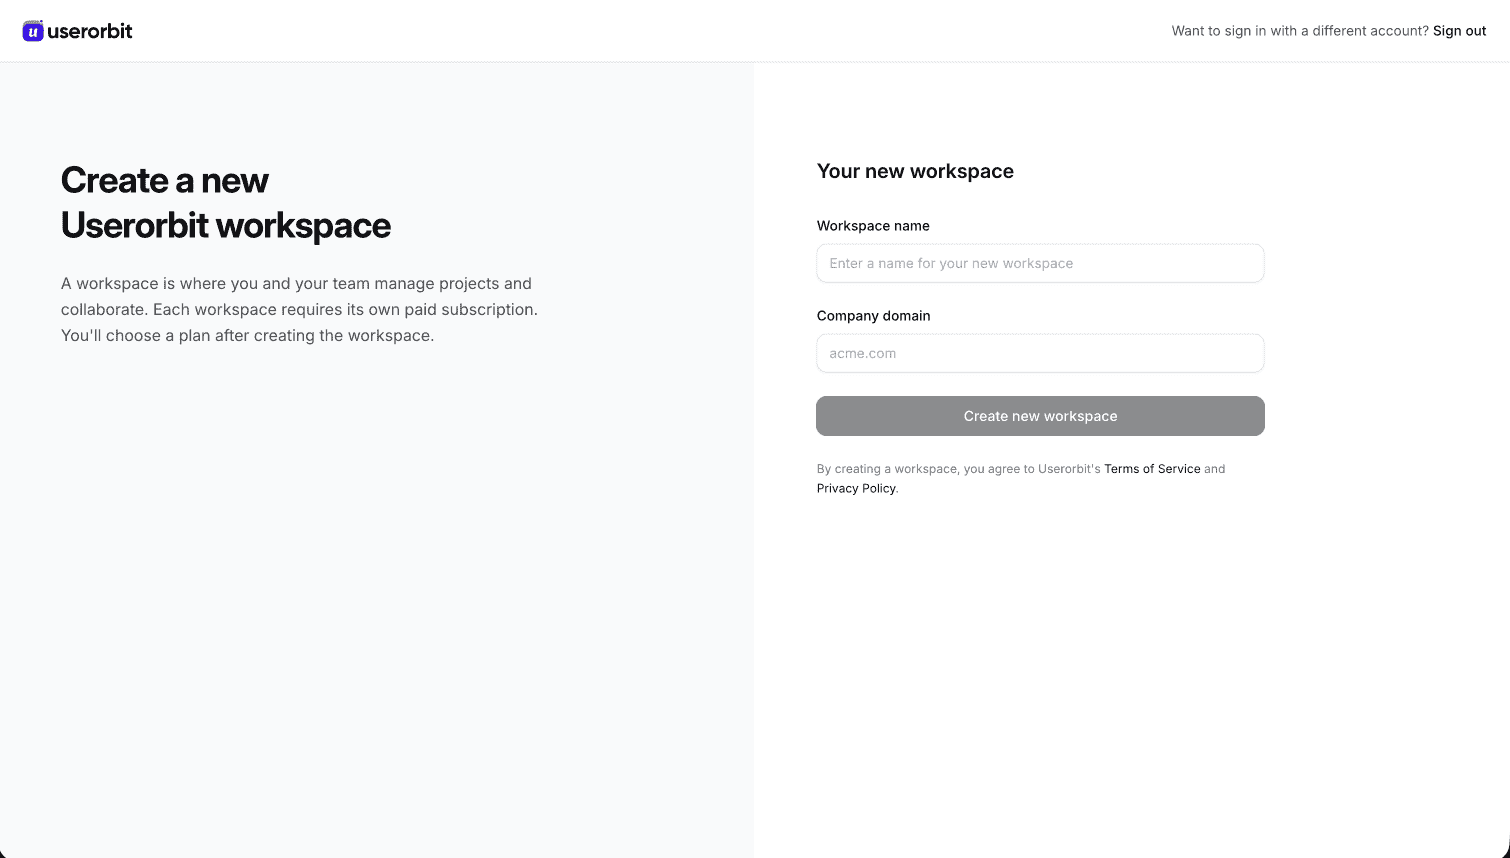
Click Create new workspace.
Your new workspace is ready. You will be taken directly to the workspace dashboard where you can start setting things up.
Configure basic settings
Before you start using your workspace, take a moment to configure the essentials:
Go to Settings in the left sidebar.
Under General, review and update the following:
Workspace name — Confirm the name is correct. This appears in the dashboard and in any team notifications.
Workspace URL — Userorbit generates a URL slug based on your workspace name. You can customize it if needed.
Logo — Upload your company logo. This will appear in the widget, emails, and your public-facing portal if you enable one.
Timezone — Set your workspace timezone so that scheduled announcements, analytics, and reports use the correct local time.
Create your first project
Workspaces contain one or more projects. Each project represents a product or app you want to manage with Userorbit.
From the workspace dashboard, click New Project.
Enter a project name — for example, "Web App" or "Mobile App."
Click Create.
Each project gets its own widget configuration, contacts, and module settings. If you only have one product, one project is all you need.
Invite your first team member
Collaboration works best when your team is on board from the start:
Go to Settings > Team.
Click Invite Member.
Enter your teammate's email address.
Select a role — Admin for full access or Member for standard access.
Click Send Invite.
Your teammate will receive an email invitation with a link to join the workspace. Once they accept, they can start collaborating immediately.
Next steps
With your workspace created, settings configured, and a teammate invited, you are ready to start building. Here is what to do next:
Install the Userorbit script on your site to activate the widget.
Create your first announcement to share an update with your users.
Explore the modules — feedback, tours, surveys, and more — to see which ones fit your workflow.